
If you’re looking to fine-tune your tone and carve out the perfect sound, you might want to consider adding a graphic EQ to your rig. It’s a powerful tool that might not get as much attention as overdrive or reverb, but trust me, it’s a game-changer when it comes to shaping your guitar’s voice. So, what exactly is a graphic EQ effect, and how can it help you dial in that perfect tone? Let’s break it down.
What Is a Graphic EQ?
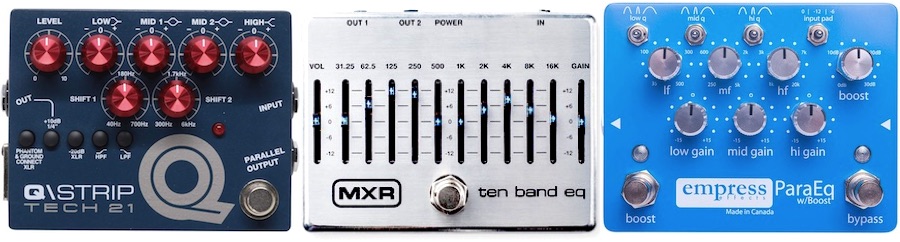
A graphic EQ (short for graphic equalizer) is an effect that allows you to adjust specific frequency bands of your guitar signal independently. Think of it as a detailed tone control with multiple sliders, each representing a different frequency range. By boosting or cutting these frequencies, you can sculpt your guitar’s sound to fit perfectly in the mix, whether you’re aiming for a bright, cutting lead tone or a warm, rounded rhythm sound.
Unlike a parametric EQ, which allows you to adjust the frequency, gain, and bandwidth of each band, a graphic EQ offers fixed frequency bands, usually represented by sliders on the pedal or unit. Each slider corresponds to a specific range of frequencies, typically measured in Hertz (Hz), and allows you to either boost or cut that particular range.
How Does a Graphic EQ Work?
Here’s a basic rundown of how a graphic EQ operates:
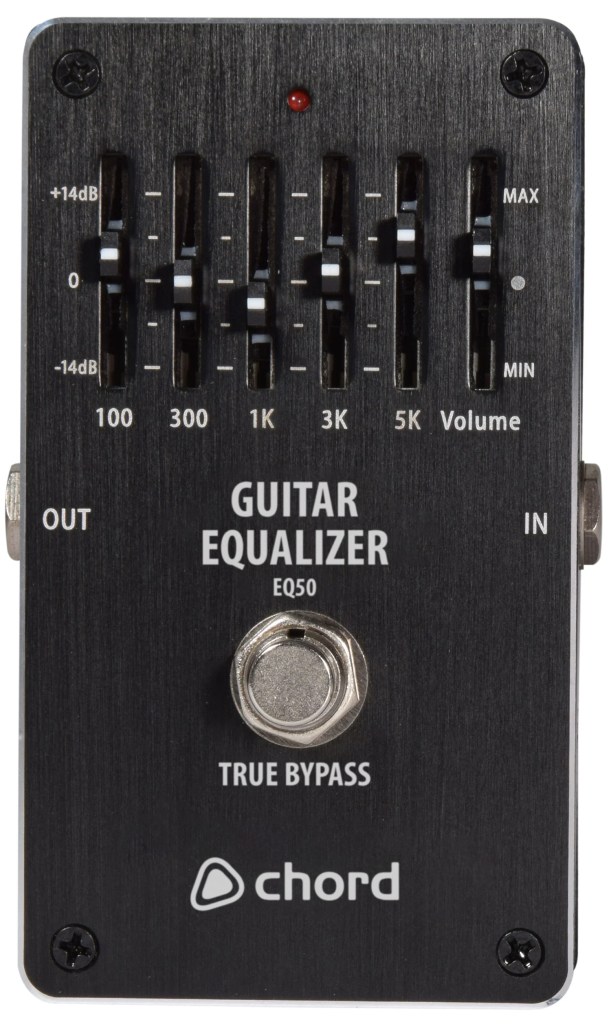
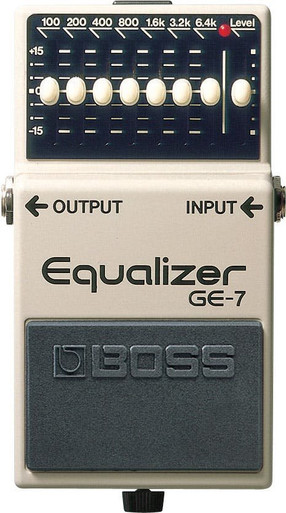
- Frequency Bands: The graphic EQ divides the audio spectrum into several fixed bands, each controlled by its own slider. Common bands might include 100 Hz, 200 Hz, 400 Hz, 800 Hz, 1.6 kHz, 3.2 kHz, and 6.4 kHz. The number of bands can vary—some graphic EQs have five bands, while others might have seven or more.
- Boost and Cut: By moving the sliders up or down, you can boost (increase) or cut (decrease) the amplitude of the frequencies within each band. For example, boosting the low frequencies around 100 Hz can add more bass to your sound, while cutting around 800 Hz can reduce any muddiness.
- Visual Representation: The sliders create a visual “graph” of your EQ settings, hence the name “graphic EQ.” This makes it easy to see how your frequencies are being adjusted at a glance.
- Tone Shaping: By strategically boosting and cutting certain frequencies, you can enhance or diminish specific aspects of your tone. This is particularly useful in a live setting where you need to adjust your sound quickly or in the studio when you’re looking for precise tonal control.
Why Use a Graphic EQ?
Graphic EQs offer a range of benefits for guitarists, making them an invaluable tool for tone shaping. Here’s why you might want to incorporate one into your setup:
- Fine-Tune Your Sound: A graphic EQ gives you the ability to make precise adjustments to your tone. Whether you need to cut through the mix or tame certain frequencies, a graphic EQ can help you dial in the perfect sound.
- Adapt to Different Guitars: Every guitar has its own tonal characteristics. A graphic EQ lets you adjust your amp settings to suit different guitars, whether you’re switching from a Les Paul to a Stratocaster or from single coils to humbuckers.
- Match Your Sound to the Room: Acoustics can vary greatly from one venue to another. A graphic EQ allows you to adapt your sound to the room, ensuring that your guitar sounds great no matter where you’re playing.
- Cut Unwanted Frequencies: If you’re dealing with unwanted noise or feedback, a graphic EQ can help you cut those problematic frequencies, resulting in a cleaner, more focused tone.
- Enhance Your Effects: By placing a graphic EQ before or after your other effects, you can shape how those effects interact with your guitar signal. For example, you can boost the mids before a distortion pedal to add punch, or cut the highs after a reverb to create a darker, more ambient sound.
Examples of How to Use a Graphic EQ
To get the most out of your graphic EQ, it helps to understand some common ways guitarists use this effect:
- Boosting Mids for Solos: If you want your solos to stand out, try boosting the midrange frequencies (around 800 Hz to 1.6 kHz). This can add presence and clarity, helping your lead lines cut through the mix.
- Scooping Mids for Rhythm: For a heavier, more aggressive rhythm tone (think metal or hard rock), you can create a “scooped” sound by cutting the midrange frequencies and boosting the lows and highs. This creates a more pronounced contrast between bass and treble, resulting in a powerful, punchy tone.
- Taming Harsh Highs: If your tone is too bright or harsh, try cutting some of the higher frequencies (around 3.2 kHz and above). This can smooth out your sound and make it more pleasant to the ear, especially when using overdrive or distortion.
- Adding Warmth: To add warmth and fullness to your tone, boost the low-mid frequencies (around 200 Hz to 400 Hz). This can give your sound a richer, more rounded character, particularly useful for clean or slightly overdriven tones.
- Cutting Muddy Lows: If your tone is sounding muddy or indistinct, cutting the lower frequencies (around 100 Hz to 200 Hz) can help tighten up your sound. This is especially effective for complex chord work or fast passages where clarity is key.
Do’s and Don’ts of Using a Graphic EQ
To get the most out of your graphic EQ, keep these tips in mind:
Do’s:
- Experiment with Settings: Don’t be afraid to try different settings to see how they affect your tone. The more you experiment, the better you’ll understand how each frequency band impacts your sound.
- Use Subtle Adjustments: Sometimes, a little goes a long way. Small boosts or cuts can have a big impact on your tone, so start with subtle adjustments and increase them as needed.
- Consider the Context: Think about how your guitar fits into the overall mix. Adjust your EQ settings to complement the other instruments, rather than competing with them.
Don’ts:
- Overuse the EQ: It’s easy to go overboard with EQ adjustments, leading to an unnatural or overly processed sound. Use the EQ to enhance your tone, not to completely reshape it.
- Ignore the Fundamentals: While EQ is a powerful tool, it’s important to start with a good basic tone. Make sure your guitar and amp are dialed in before reaching for the EQ pedal.
- Forget About Volume Levels: Boosting certain frequencies can increase your overall volume. Be mindful of how your EQ settings affect your level, and adjust accordingly to maintain balance in the mix.
Choosing the Right Graphic EQ for Your Rig
When it comes to choosing a graphic EQ, there are a few factors to consider:
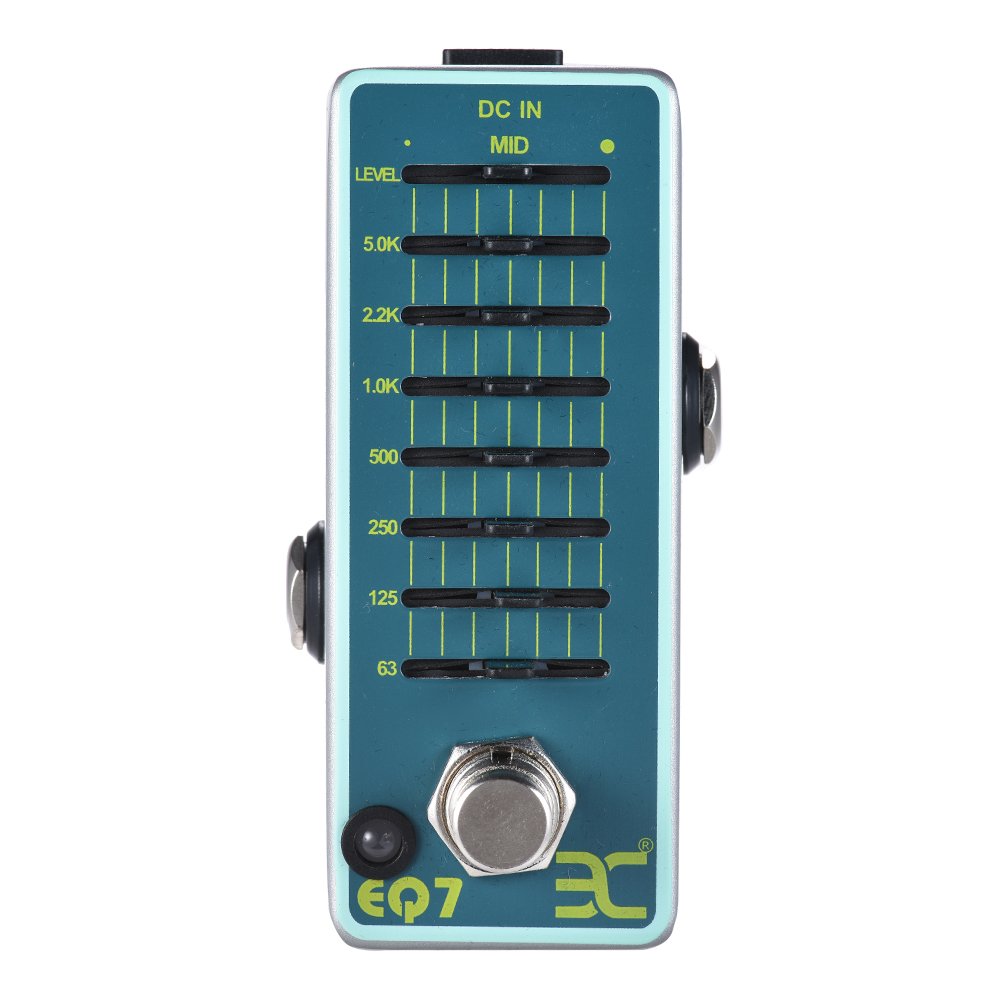
- Number of Bands: The more bands your EQ has, the more control you’ll have over your tone. However, more bands also mean more complexity. Decide how much control you need and choose an EQ with the appropriate number of bands.
- Build Quality: Like any pedal, durability is important, especially if you’re gigging regularly. Look for a well-built EQ that can withstand the rigors of live performance.
- Size and Power: Consider how much space you have on your pedalboard and whether the EQ requires a special power supply. Some graphic EQs are compact and run on standard 9V power, while others may be larger or require a different voltage.
- Price: Graphic EQs range in price from budget-friendly options to high-end models. Determine your budget and choose an EQ that offers the best value for your needs.
Conclusion: Mastering Your Tone with Graphic EQ
A graphic EQ is a versatile and powerful tool that can help you fine-tune your guitar sound in ways that other effects can’t. Whether you’re looking to add clarity, warmth, punch, or cut through the mix, a graphic EQ gives you the precision and control you need to achieve the perfect tone. So, plug in, move those sliders, and start shaping your sound like never before.


Leave a comment