
If you’ve been playing guitar for any amount of time, you’ve likely heard of the truss rod. But if you’re not sure exactly what it does, don’t worry—you’re not alone. The truss rod is an essential part of your guitar’s neck, and understanding how to adjust it can make a huge difference in your playability and tone. Whether you’re dealing with buzz, a high action, or just want to fine-tune your guitar, truss rod adjustment is key. Let’s dive into why it matters and how to do it right.
What Is a Truss Rod?
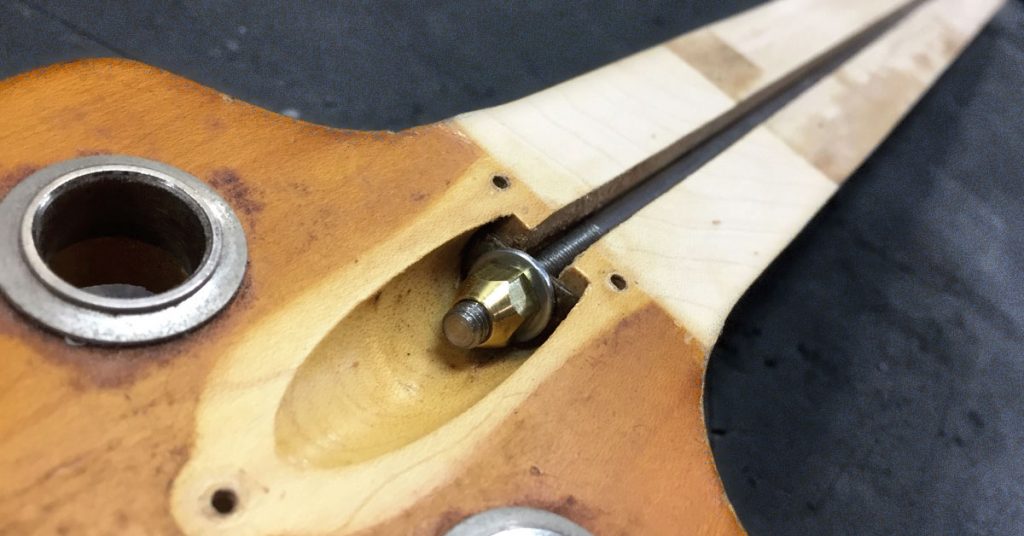
A truss rod is a metal bar that runs along the neck of your guitar, typically beneath the fingerboard. Its main purpose is to counteract the tension caused by the strings, keeping the neck from bowing over time. The adjustment of the truss rod helps you fine-tune the curvature of the neck, which in turn affects how your guitar plays and sounds.
When you adjust the truss rod, you’re changing the neck relief, which is the slight curve in the neck that allows the strings to sit comfortably above the fretboard. Too much relief can cause high action, making it hard to play, while too little relief can lead to fret buzz and uncomfortable string tension.
Why Truss Rod Adjustment Matters
Adjusting the truss rod might sound intimidating, but it’s an essential skill for any guitarist. Here’s why:
- Playability: If your guitar feels too hard to play, with high action or buzzing, the truss rod could be the culprit. Adjusting it can make your instrument feel more comfortable and responsive.
- Tone: A properly adjusted truss rod can improve your tone by ensuring proper string height. This helps with sustain, clarity, and overall resonance.
- Preventing Damage: Over time, if the neck is too bowed or too straight, it can lead to permanent damage. Regular adjustments help prevent that.
How to Adjust the Truss Rod
Before jumping into adjusting your truss rod, let’s go over some basics. First, you’ll need a few tools:
- Truss rod wrench: This usually comes with your guitar or can be purchased separately.
- Tuner: It’s important to tune your guitar before making any adjustments.
- Capo: Optional but helpful for applying consistent pressure to the strings.
Step-by-Step Guide:
- Tune your guitar: Before making any adjustments, tune your guitar to your preferred tuning. This ensures the strings are under tension and allows you to make an accurate adjustment.
- Check the neck relief: Press down on the first and last frets of your low E string. There should be a small gap (usually about the width of a credit card) at the 8th fret. This gap indicates the amount of relief in the neck.
- Locate the truss rod: The truss rod adjustment nut is usually located at the headstock or the body end of the neck, depending on your guitar model.
- Adjust the truss rod:
- To increase relief (curvature): Turn the truss rod counterclockwise. This loosens the rod and allows the neck to bow slightly.
- To reduce relief (flatten the neck): Turn the truss rod clockwise. This tightens the rod and straightens the neck.
- Check your progress: After a slight adjustment, check the neck relief again and repeat the process as needed. Make small adjustments—don’t go overboard all at once.
Tips for a Successful Truss Rod Adjustment
- Take your time: It’s tempting to make large adjustments, but it’s better to make small, gradual changes. Adjust a little bit at a time and check frequently.
- Don’t over-tighten: If you tighten the truss rod too much, you could risk damaging it or the neck. If it feels too tight, stop and check again.
- Play-test after adjustments: After making changes, play your guitar to check how it feels. You might need to adjust other elements like your string height or action for the best result.
- Be patient: Truss rod adjustments don’t always yield immediate results. Give the neck some time to settle before making more changes.
When to Upgrade Your Truss Rod Adjustment
If you’ve tried adjusting your truss rod and your guitar is still giving you issues like fret buzz or uncomfortable action, it might be time to check other elements of your setup, like the nut height, frets, or even the neck itself. It could also be a sign that your guitar needs a professional setup or that the truss rod itself is damaged.
Tip: If you’re unsure or uncomfortable adjusting the truss rod yourself, it’s always a good idea to have a professional guitar tech handle it for you. They can also assess if there are any other underlying issues.
Conclusion
Mastering truss rod adjustment is an essential skill for every guitarist. With the right tools and a little patience, you can ensure that your guitar plays at its best, with comfortable action and smooth fretwork. Keep an eye on your guitar’s neck relief, and you’ll enjoy better tone, playability, and longevity. Remember, a well-adjusted guitar is a happy guitar—so take the time to get your neck just right!

Leave a comment